Staffing Referrals provides an automated calendar booking tool so candidates can easily book time to meet with you. This will save you a lot of time on scheduling -- rather than going back and forth with a candidate to find the best time to connect, you can simply share the link and they can book a time that works for them.
You can share your calendar link in emails, text messages, etc. We also recommend that you include it in your email signature.
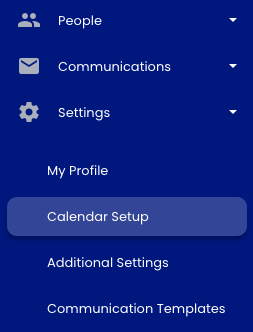
Step 1. Navigate to "Settings" > "Calendar Setup"
Step 2. Select "Link Calendar"
Sign into your Google or Outlook calendar and allow Staffing Referrals Scheduling to access your account.

This process can take a few minutes, and then your calendar booking page is ready to use!
Note: It can take up to 24 hours for the tool to fully sync with your personal calendar.
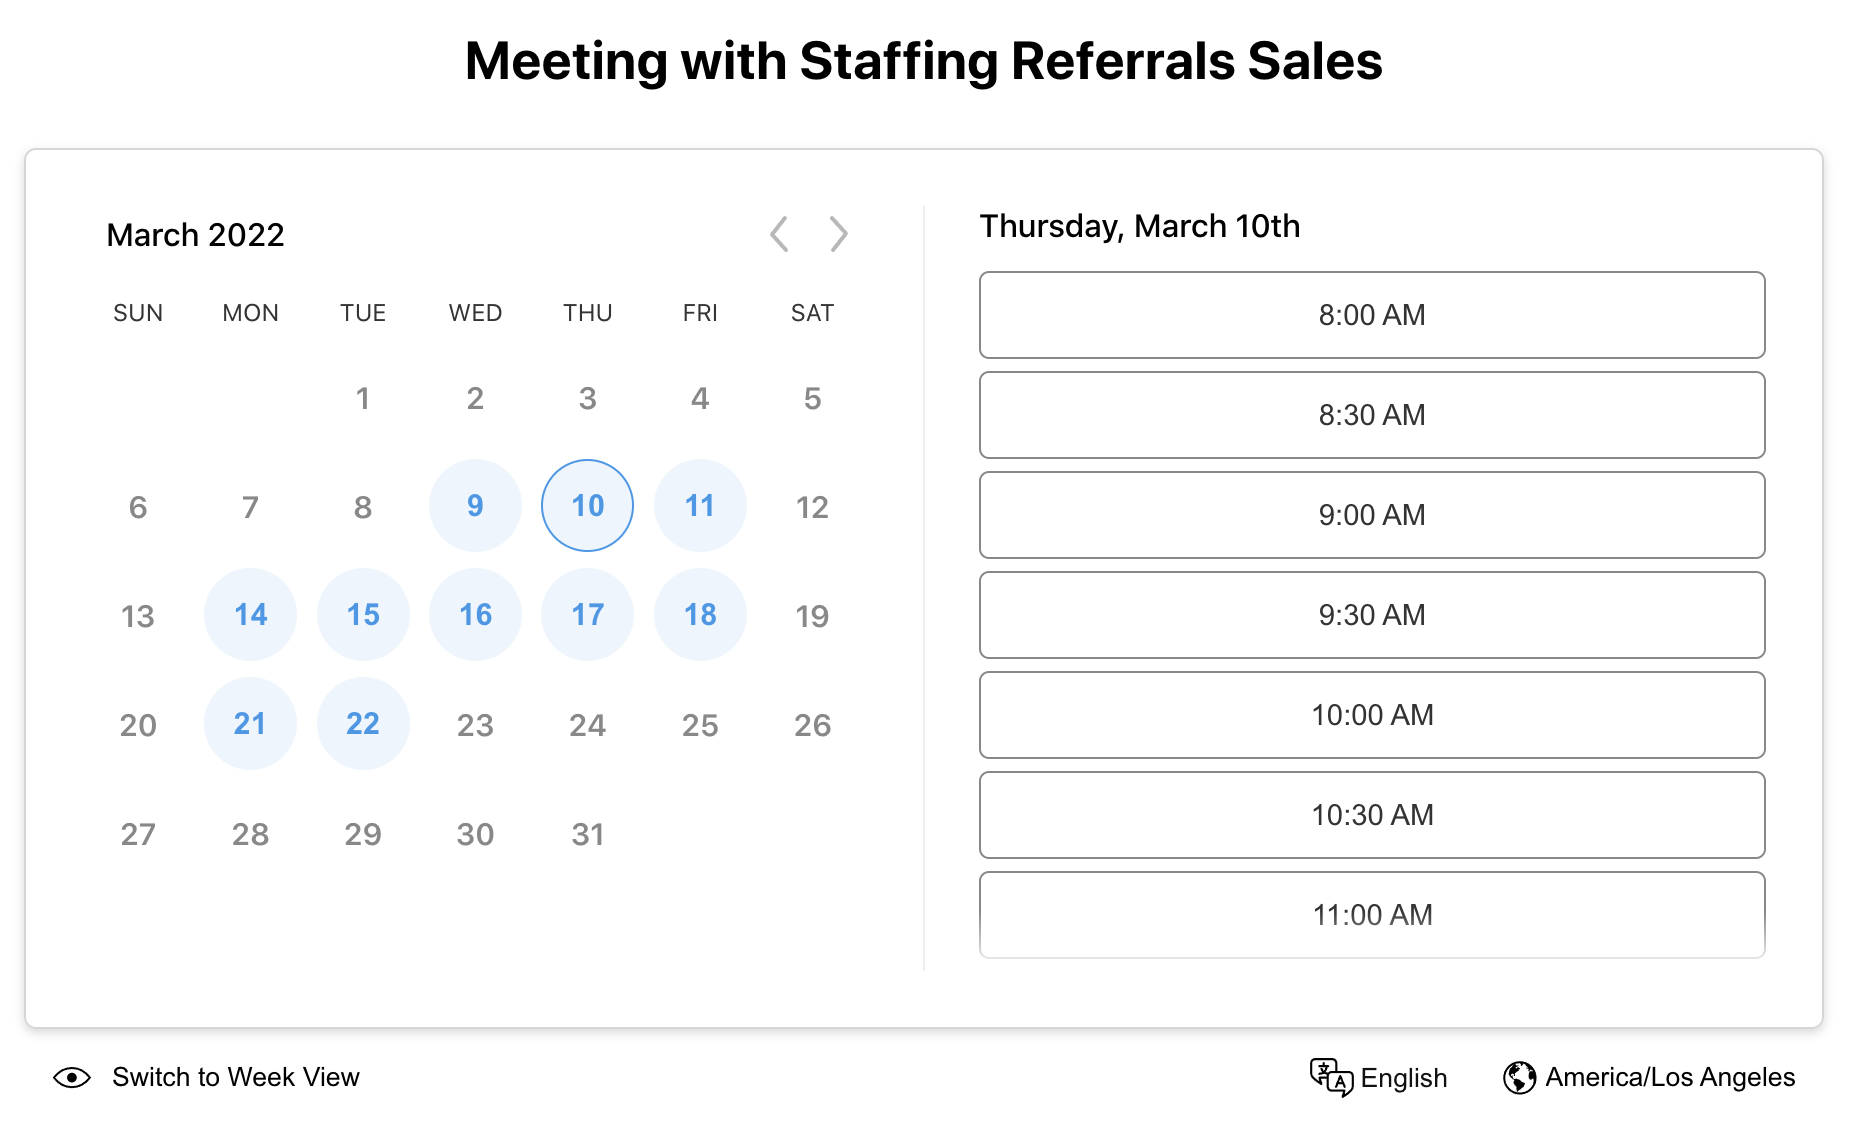
Click "View Calendar" to see your booking page. We recommend that you bookmark this link so you can easily share it with candidates and prospects.
Step 3. Configure your calendar
Many of the configuration options populate automatically, and we recommend you leave them as is. But there are a few to pay attention to -- especially the time zone for your calendar and where the meeting will take place (phone, Zoom, Teams, etc.).
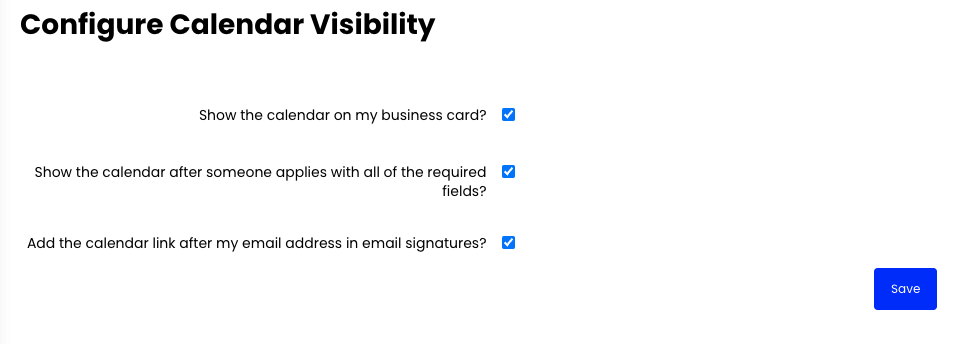
On your dashboard, click "Configure Visibility" to control where your calendar appears within the Staffing Referrals platform. Select the options you want and hit "Save."
Note: If you click "Add calendar link after my email address in email signatures?" your calendar link will appear in your signature for all emails sent through Staffing Referrals. We recommend that you add your link to your regular signature as well.
Next, on your dashboard, click "Calendar Settings." Here, you can configure a variety of options.
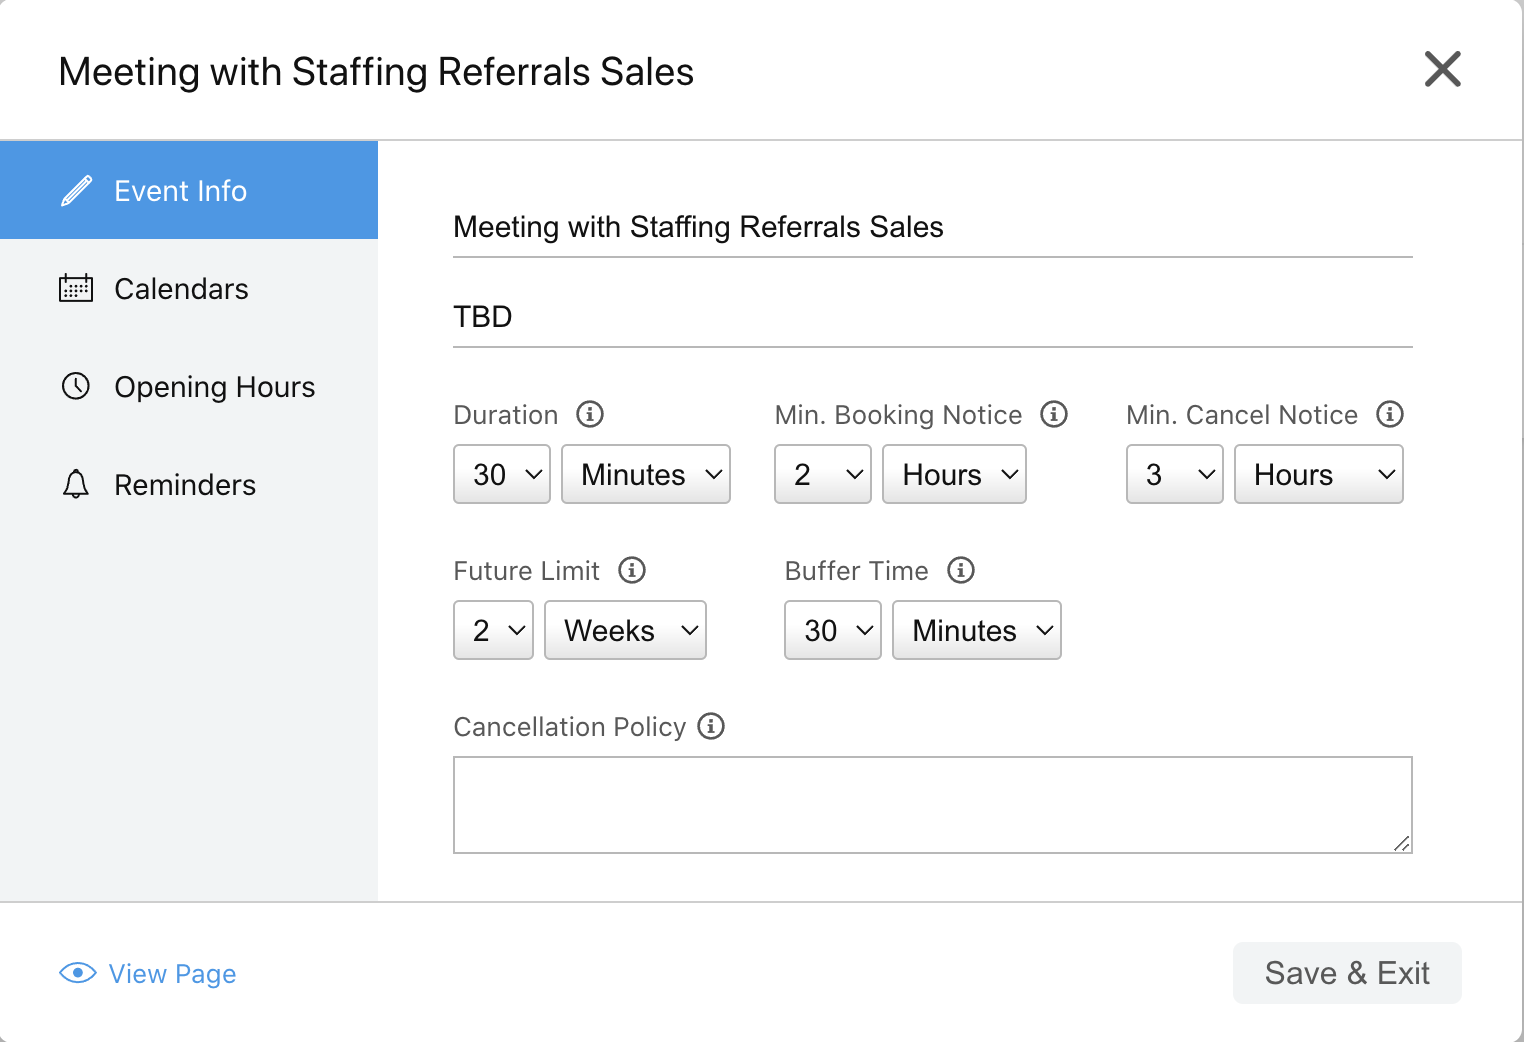
Event info
- Meeting name: This goes on the first line, where it says "Meeting with Staffing Referrals Sales" in the screenshot below.
- Meeting location: Your Zoom link, Teams link, phone number, or any other way you will meet applicants. This goes on the second line, where it says "TBD" in the screenshot below.
- Duration: The length of the calendar events created by the page
- Minimum booking notice: The minimum amount of time an event must be planned in the future
- Minimum cancellation notice: The minimum amount of time before an event that the guest is allowed to cancel via the booking page
- Future limit: The number of days into the future that people can book events
- Buffer time: The minimum amount of time between events on your calendar so you can have a break between meetings
- Cancellation policy: If you have a cancellation policy, you can specify it here.
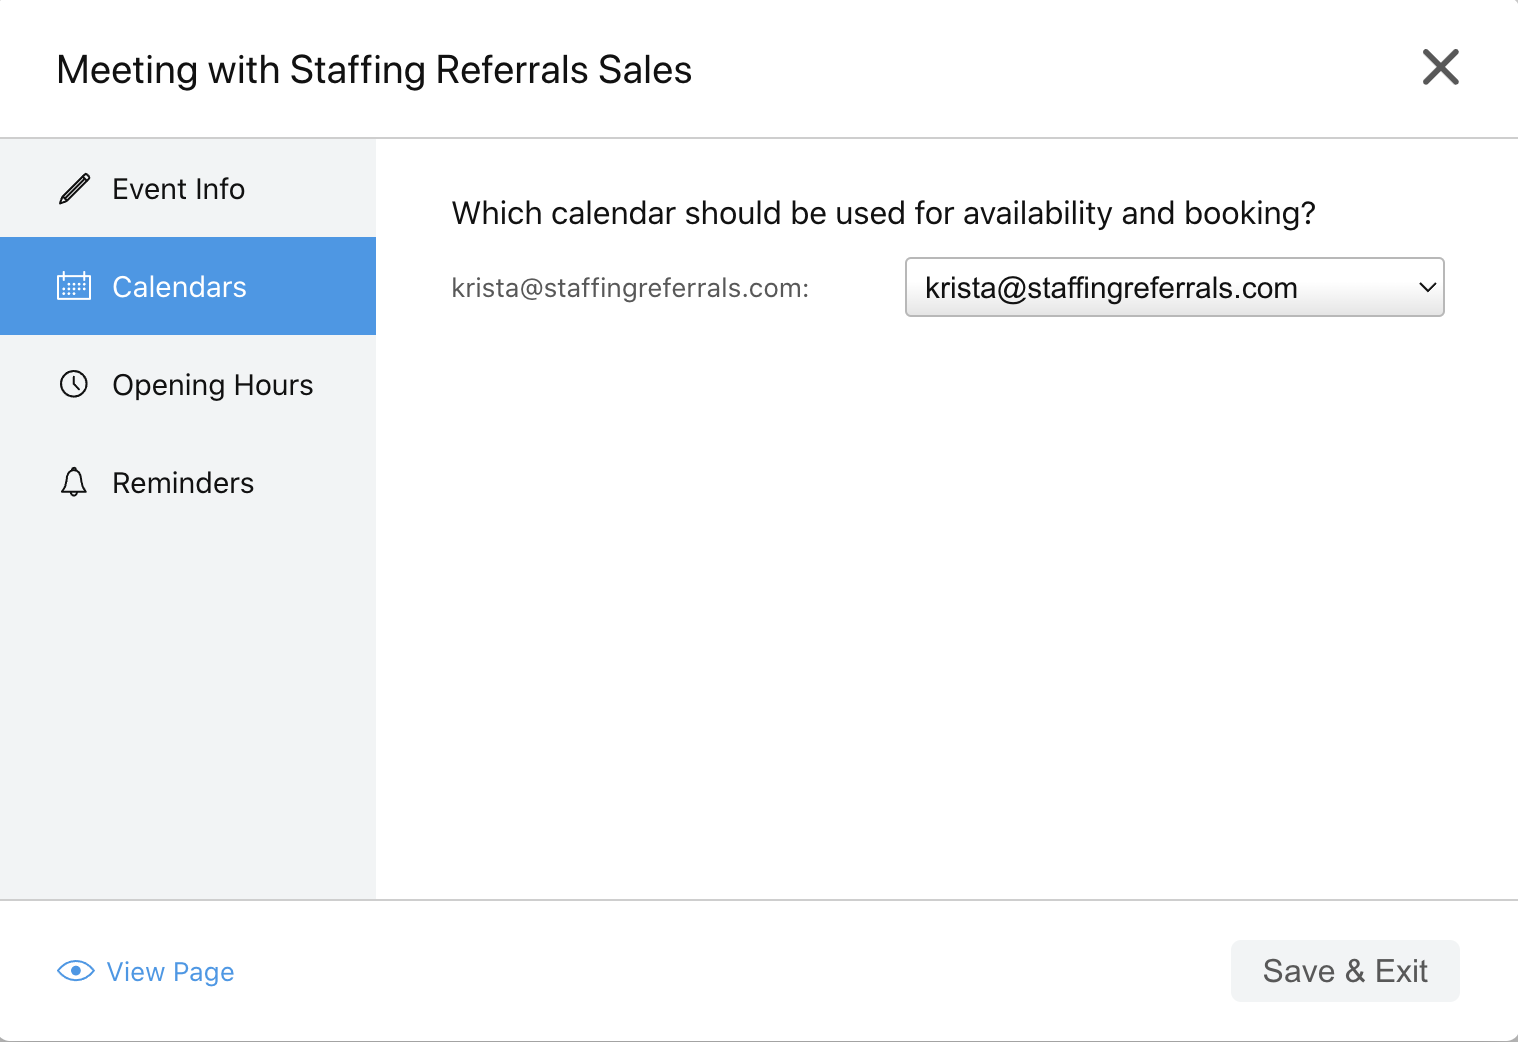
 Calendars
If you have more than one calendar linked to your Staffing Referrals account, you can choose which one to use for your booking page.
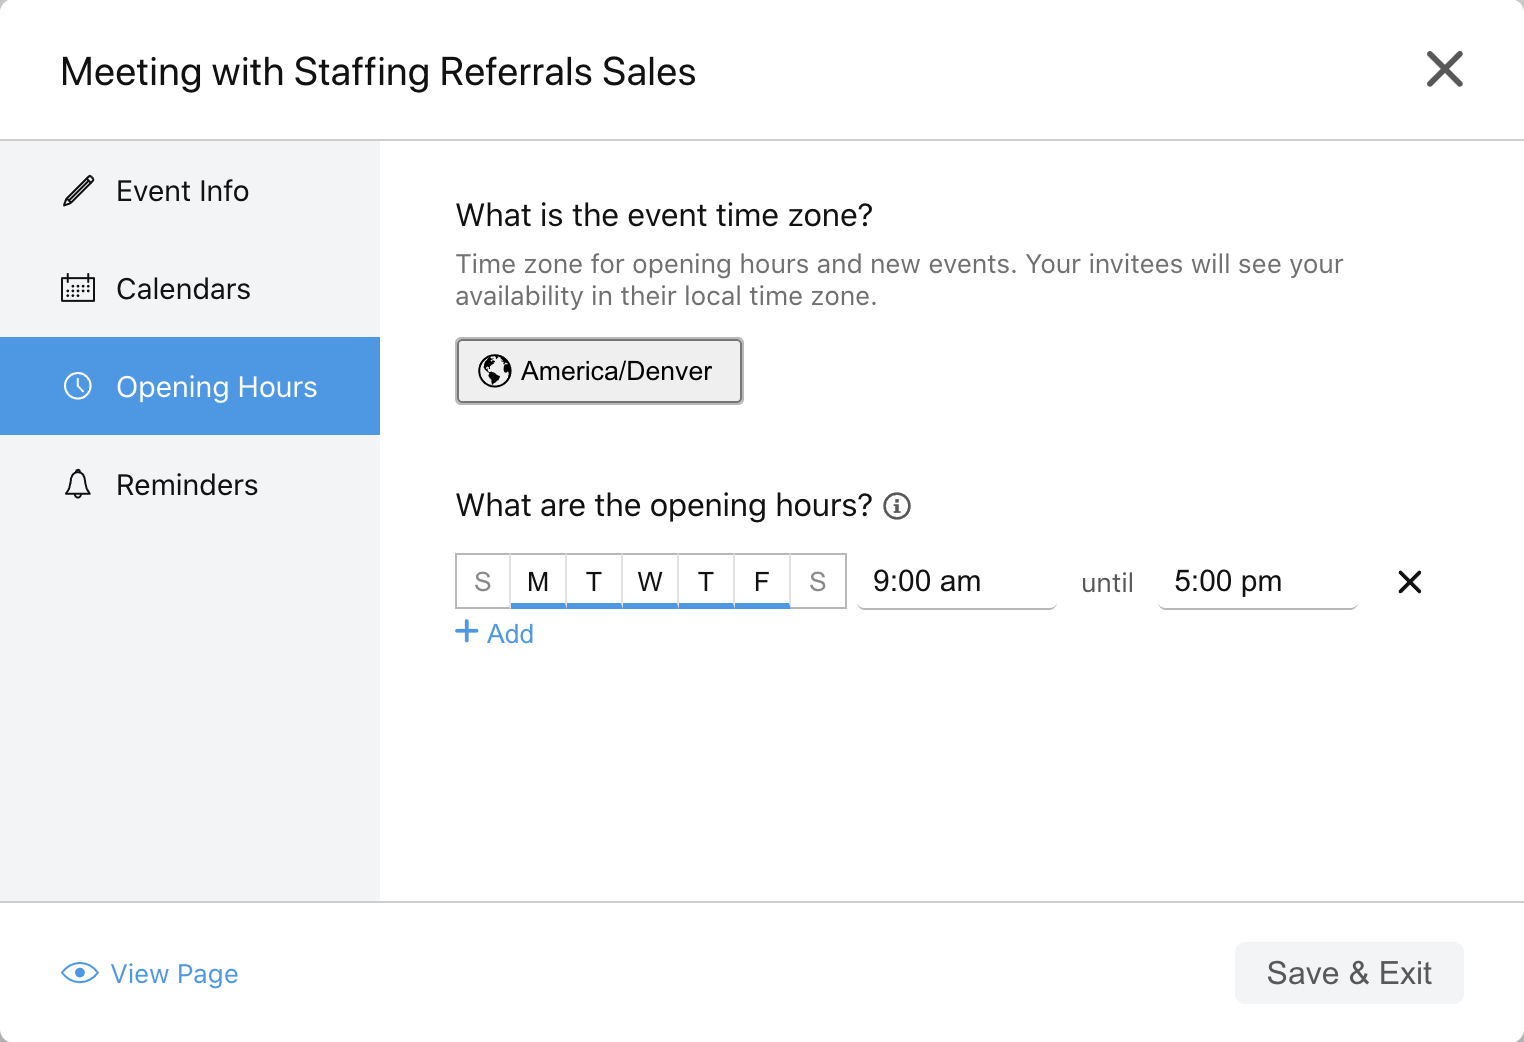
Opening hours
Specify the days and times that applicants can book meetings on your calendar. Make sure you set the time zone to your location.
Reminders
Select the notifications both you and the applicant will receive about the meeting.
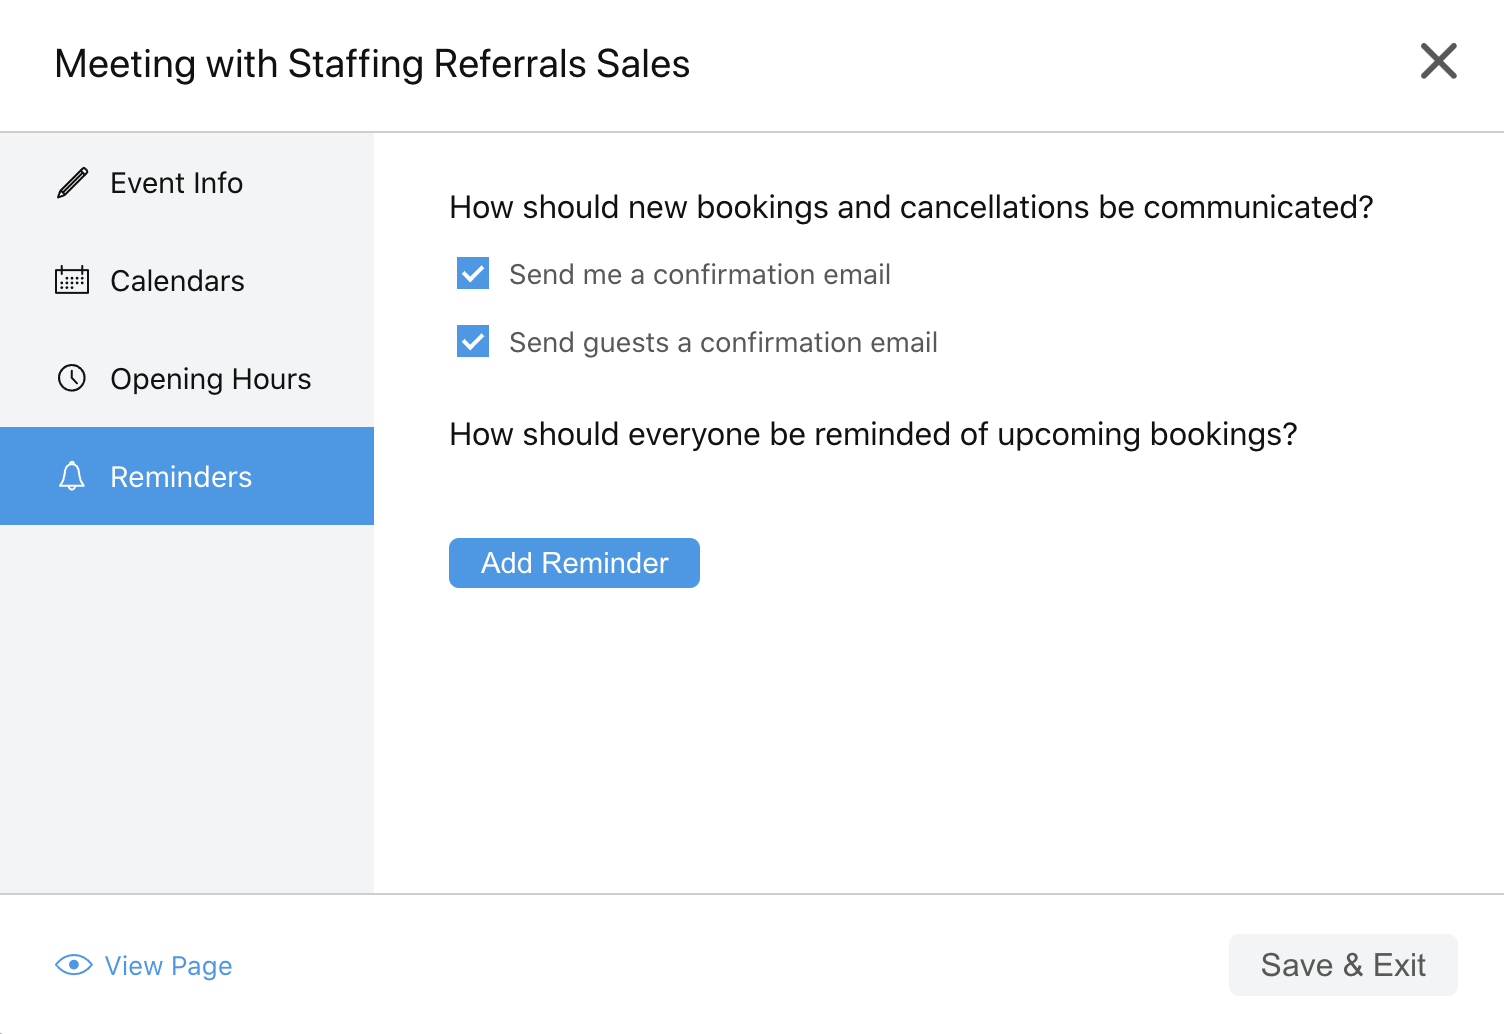
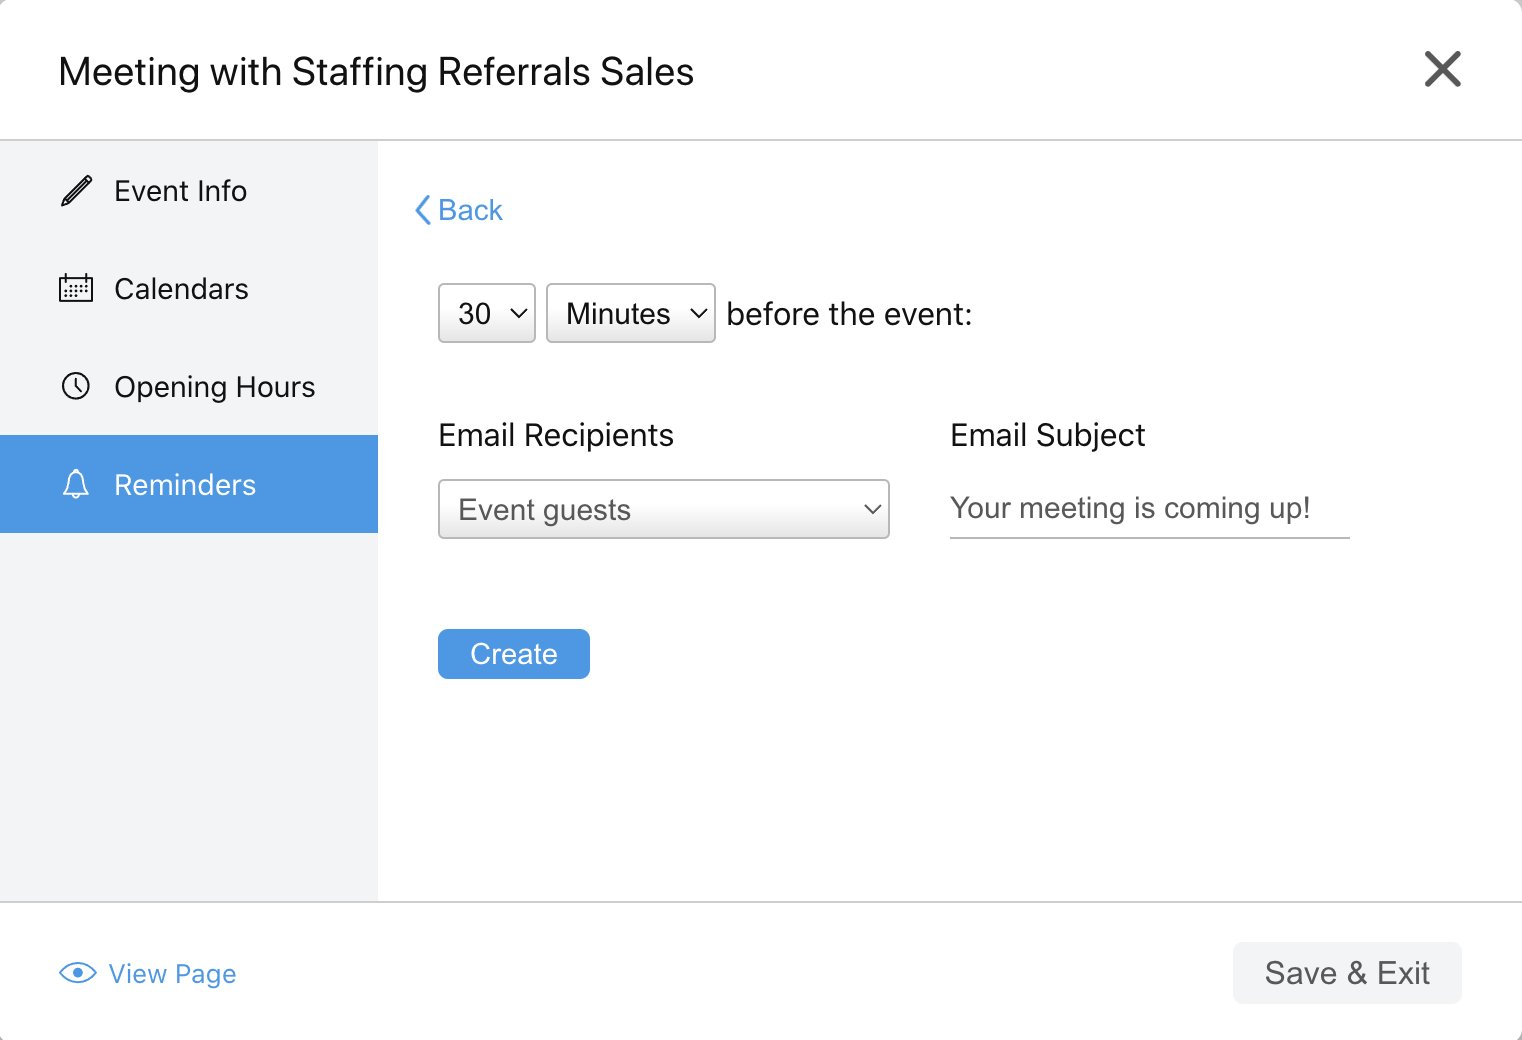
Click "Add Reminder" to create additional notifications, such as an email 30 minutes before the meeting.
Step 4: Add your calendar link to your email signature
This is optional, but we highly recommend that you include your calendar link in your email signature using text such as "Book a meeting with me." You can do this in your email settings.
If you have any questions comments, or feedback, please reach out to support@staffingreferrals.com.